

Time-lapse photography is a technique whereby the frequency at which film frames are captured (the frame rate) is much more spread out than the frequency used to view the sequence. When played at normal speed, time appears to be moving faster and thus lapsing.
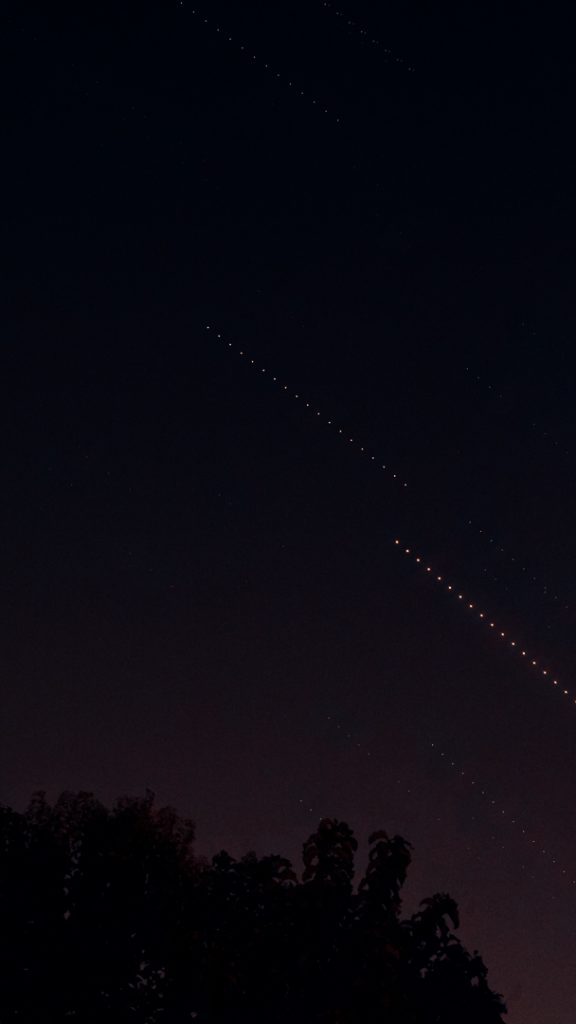
Traditionally time-lapse shot is synonymous with a video. I decided to give this concept a twist. What if we pick a few a few frames from the entire catalogue of frames that make a time-lapse video and stack and blend them in post, wouldn’t the results be surreal! With that thought in mind I did some concept shots. In this post, I’ll guide you on how you can make such photos.
1) Camera (any camera will do)
2) A sturdy base/ Tripod (to keep the camera still; we need the camera to be in the exact same spot for all the shots
3) A photo-editing software that supports layers (we’re gonna use Adobe Photoshop for this tutorial but the same principles will apply to any software
We’ll shoot in manual mode as it gives us more flexibility. So, let’s switch our phones and DSLRs to manual and here’s a brief on how to dial in the settings:
Pro-Tip: We’ll set our focus on manual as well. This will help us in reducing the variations in our successive shots. For getting the perfect focus, turn focus to auto and switch on live view on your camera. Now zoom in to the brightest area of your shot and let the camera focus. Once the focus is set, turn it to manual focus and voila, our focus is set!
Now that we’ve dialed in our basic settings, it’s time for us to frame our shot. Set your composition as you wish. Just make sure that you reduce as much light pollution as possible. This means that angle your camera in such a way that light coming from nearby sources (like streetlamps) does not reach the sensor or at-least the intensity of light is low. This will help the camera in capturing the details with more precision.
After setting our shot, we’ll now click a test shot to see how the picture turns out. In case the photo is dark, decrease your shutter speed first (i.e. if your shutter speed was 1 sec, try increaing it to 1.6 secs or 2 secs); if it is still dark bump up your ISO a bit and vice-versa if the shot is too bright. In case your shot is still too dark, reduce your aperture, i.e. if you were shooting at f/9, try going to f/7.1. Use aperture shifting only as a last resort. Once we are happy with our shot, we will now switch on interval time mode and set the interval to 10-15 mins depending on what we are shooting. If we spot a flight, then interval should be 1 second or heck, just shoot in burst mode. For moon and stars, 5-15 minutes works fine. For people who don’t have interval shooting mode or are shooting on mobile phones just take 3-5 shots at a fixed interval
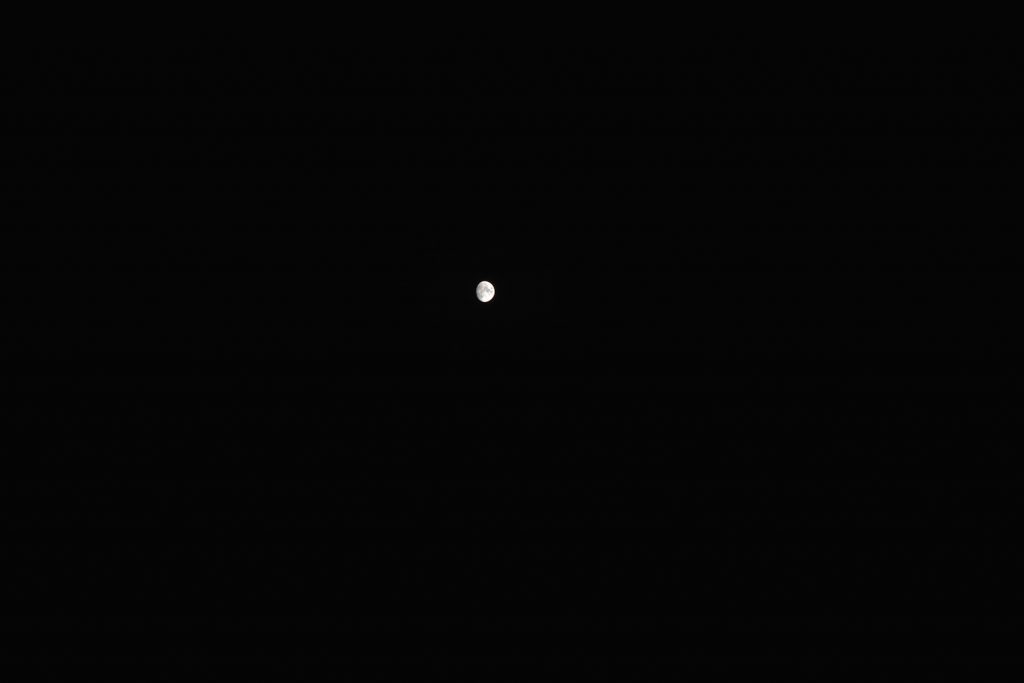
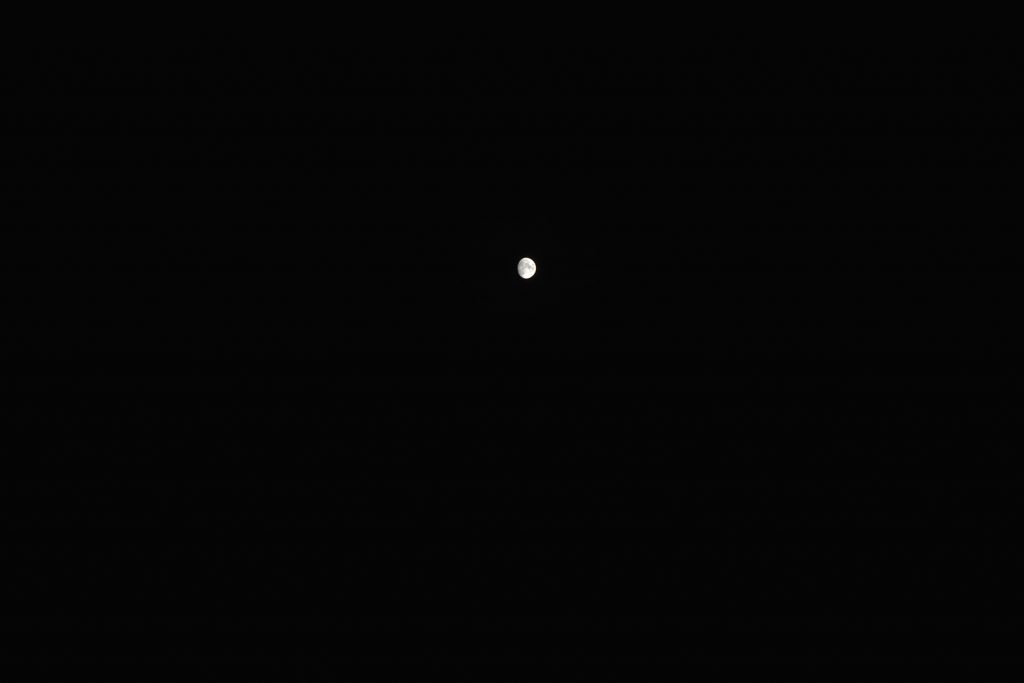
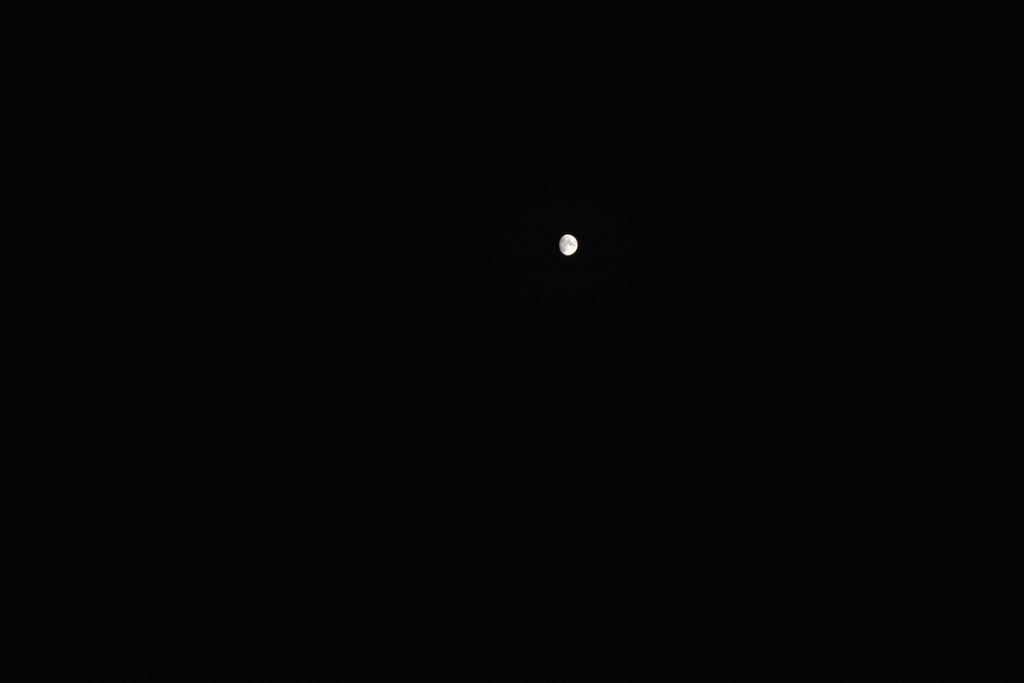
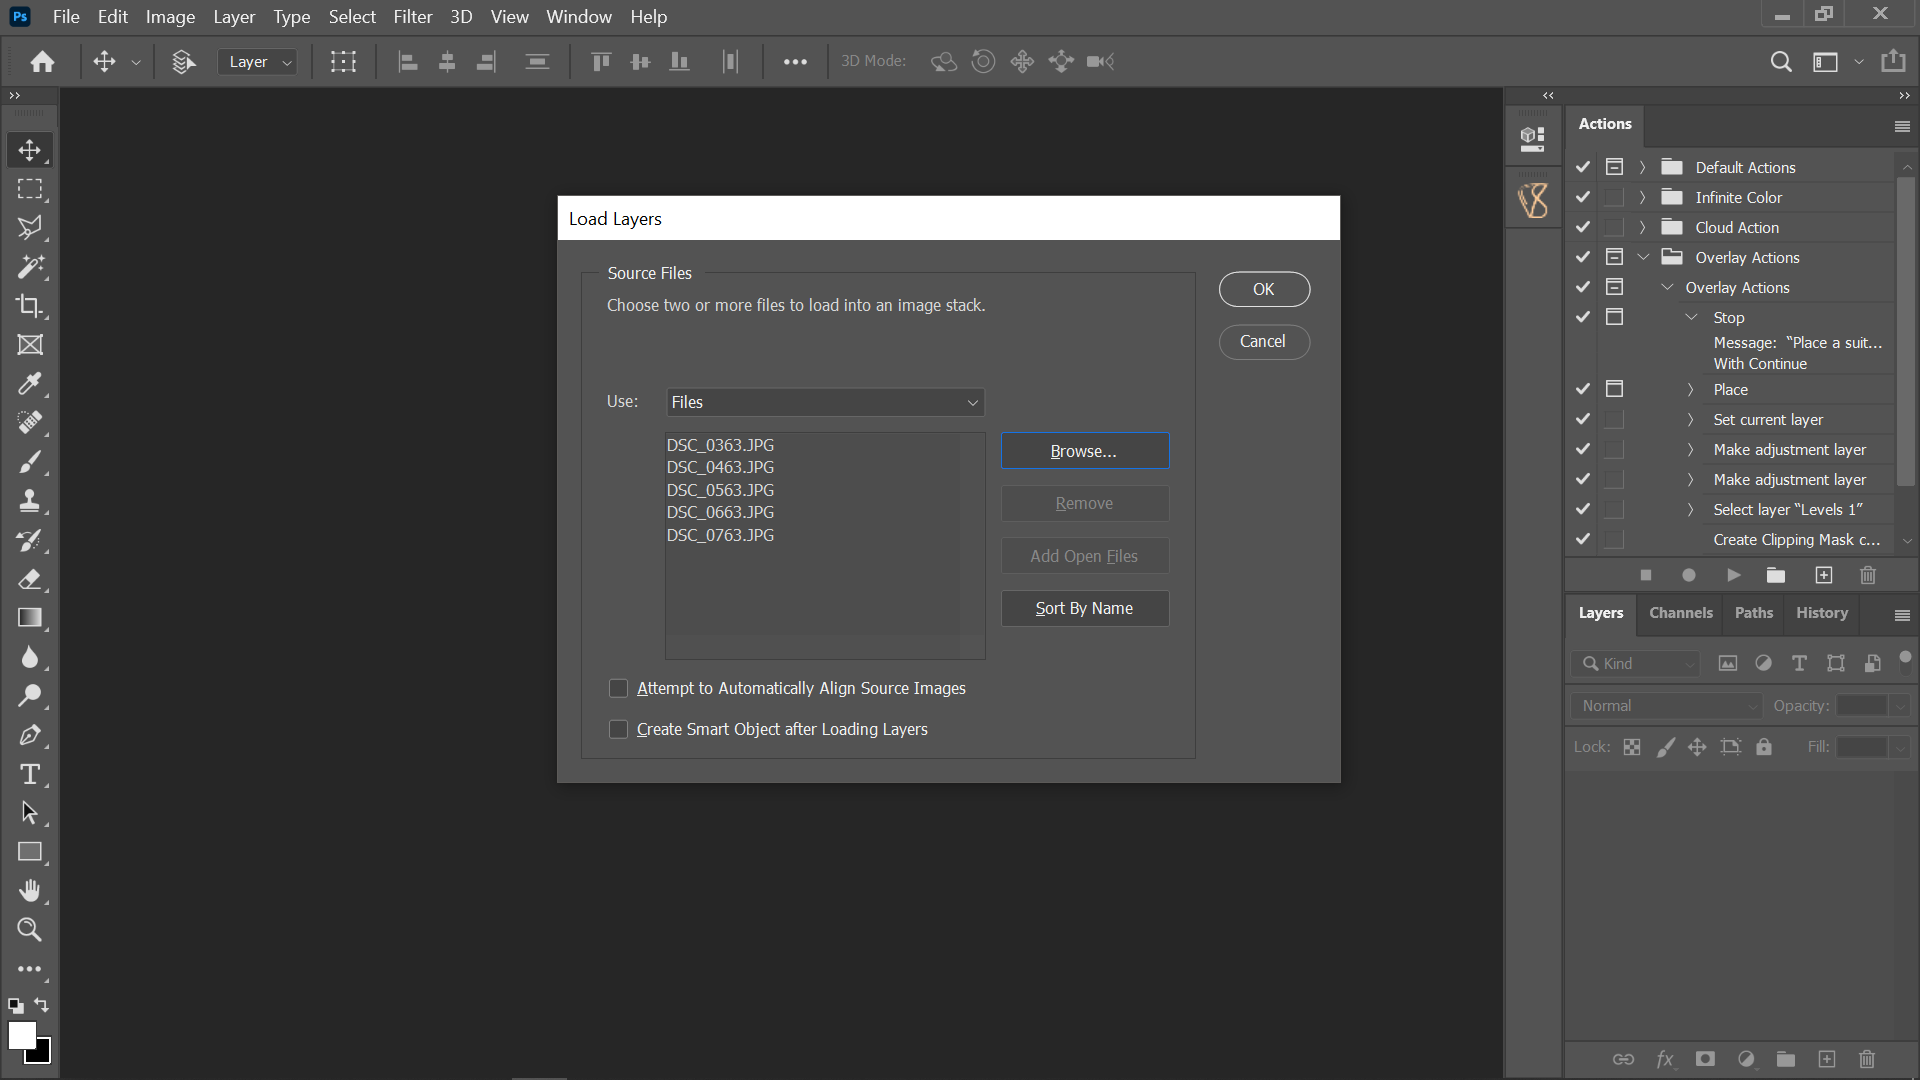
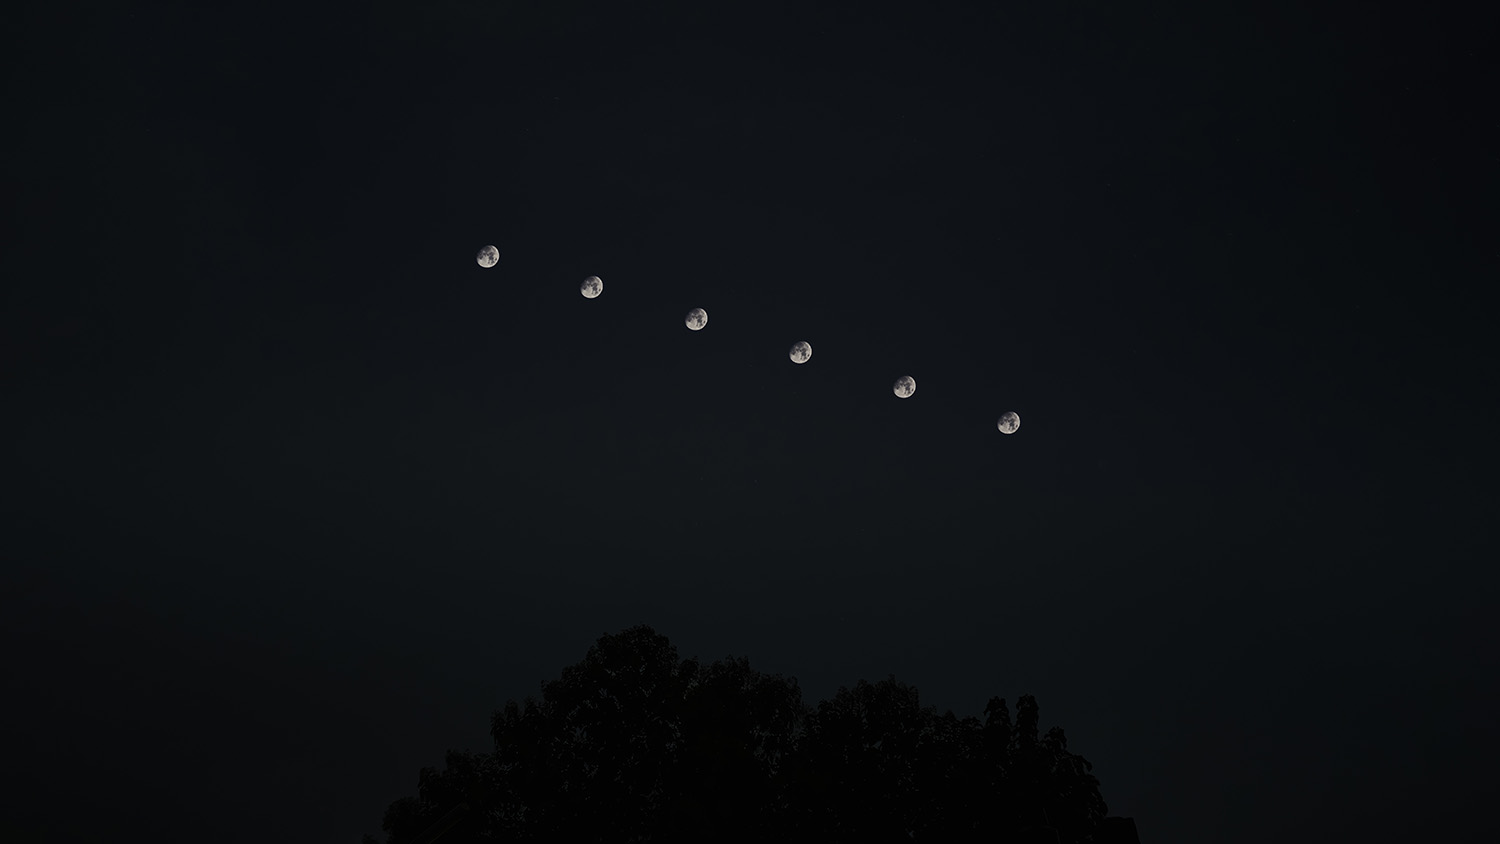
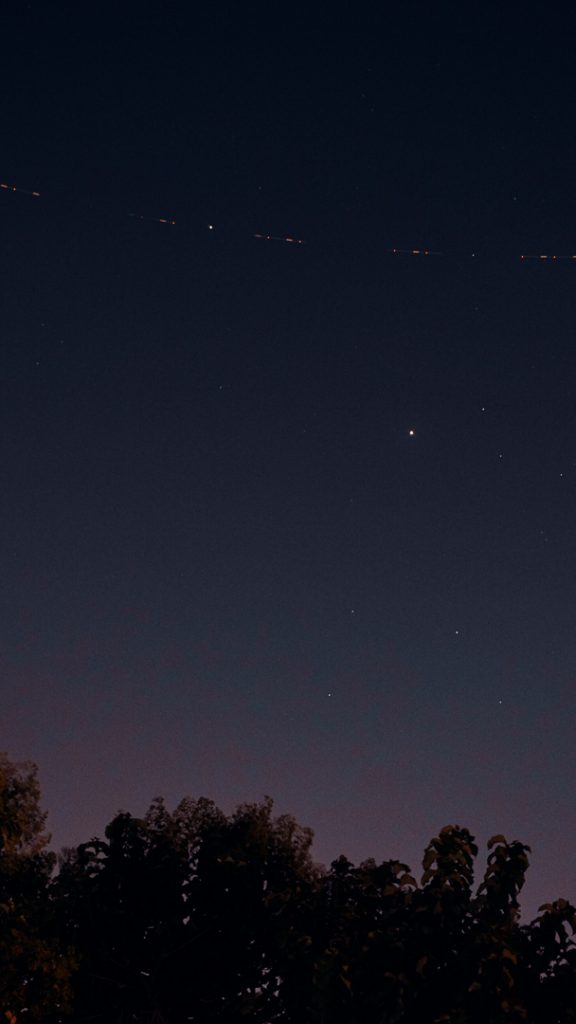
These are the 4 shots that we’re gonna use for this example:
f/11 1/20sec 55mm ISO-100 Interval: 3mins
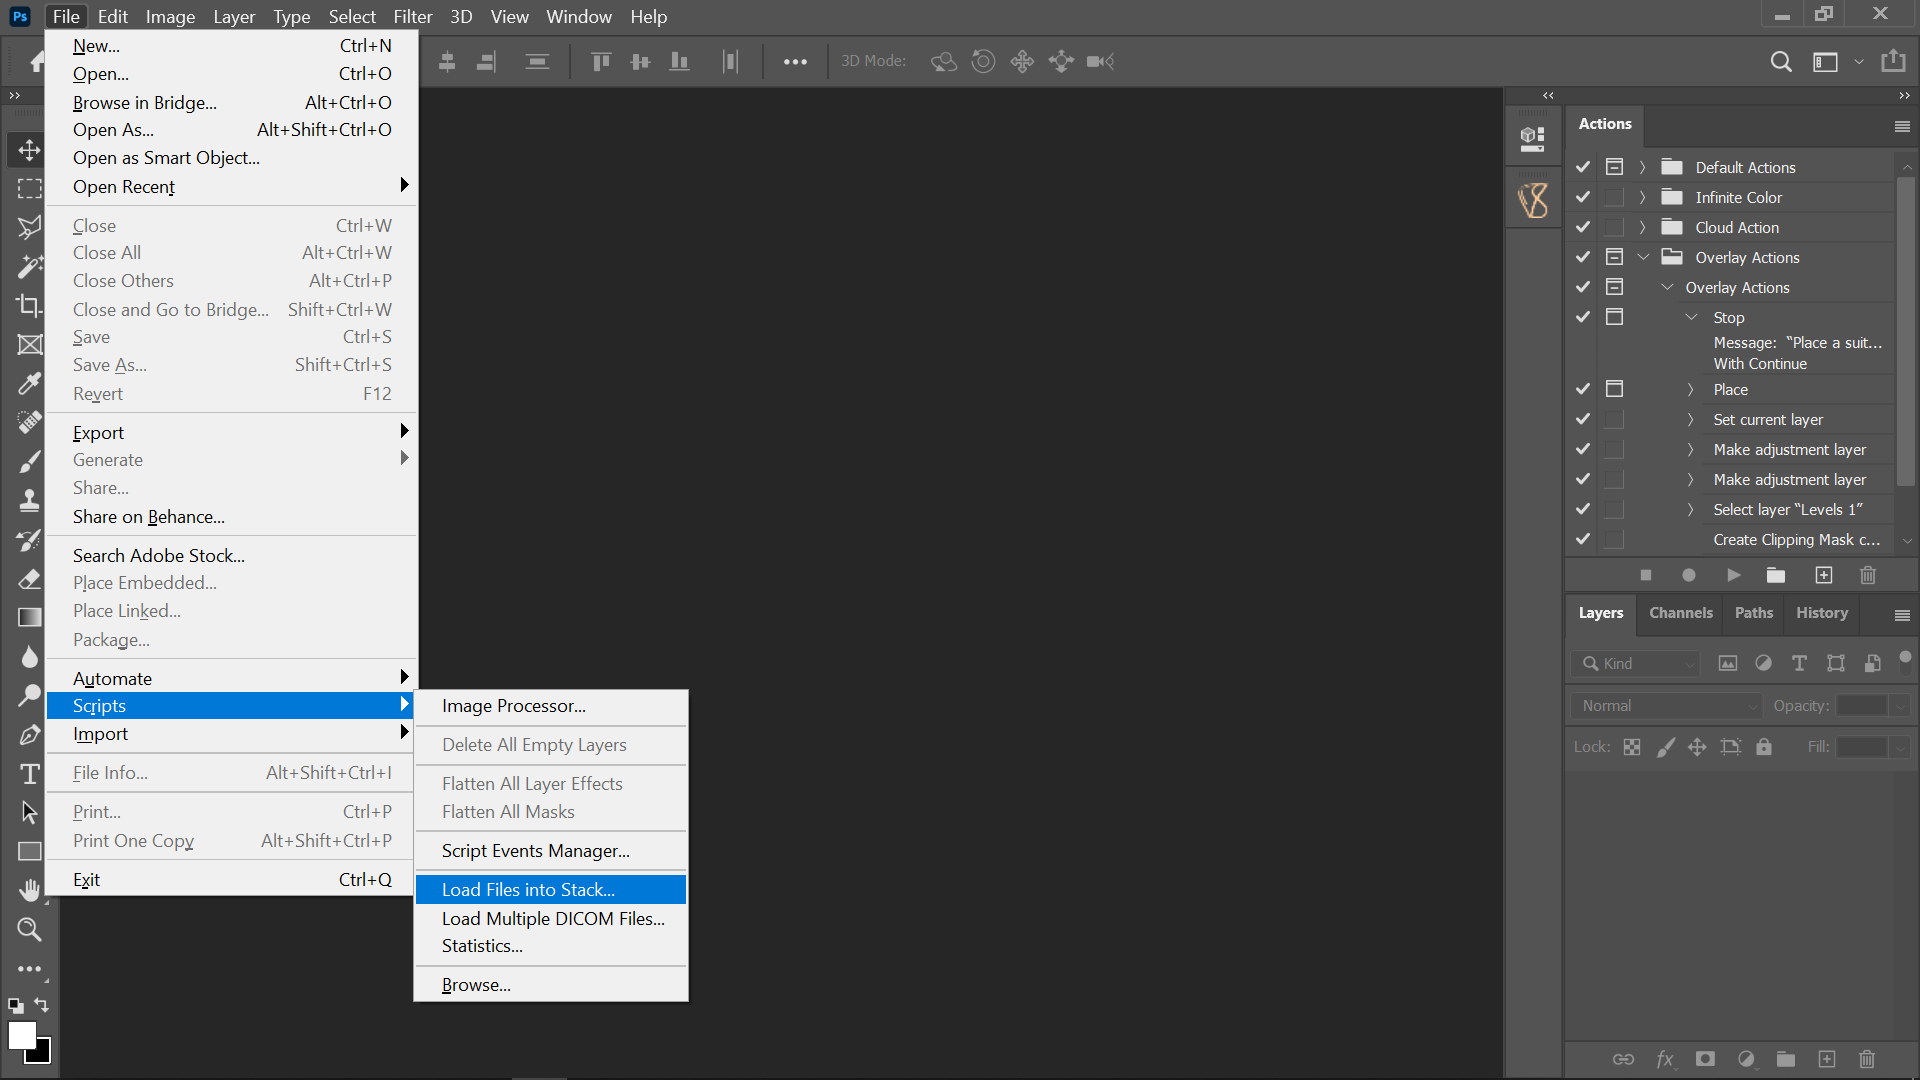
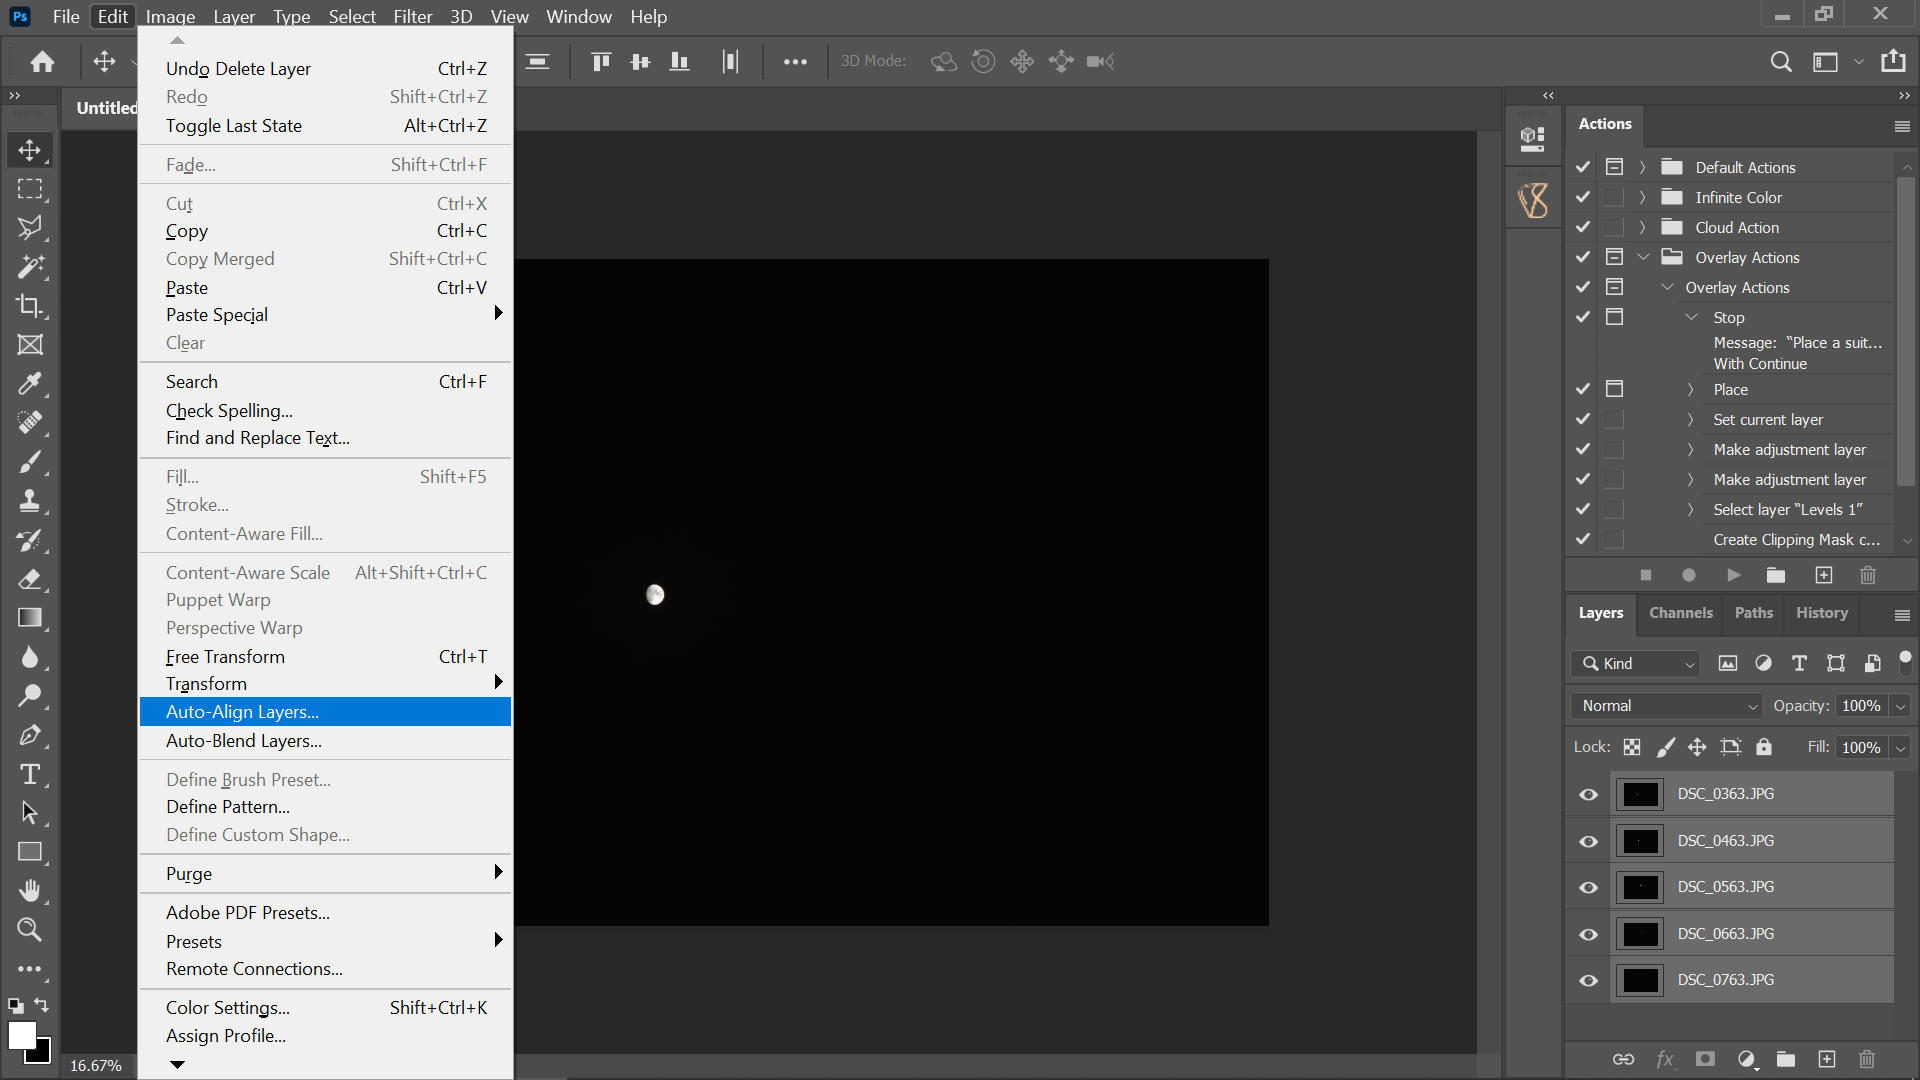
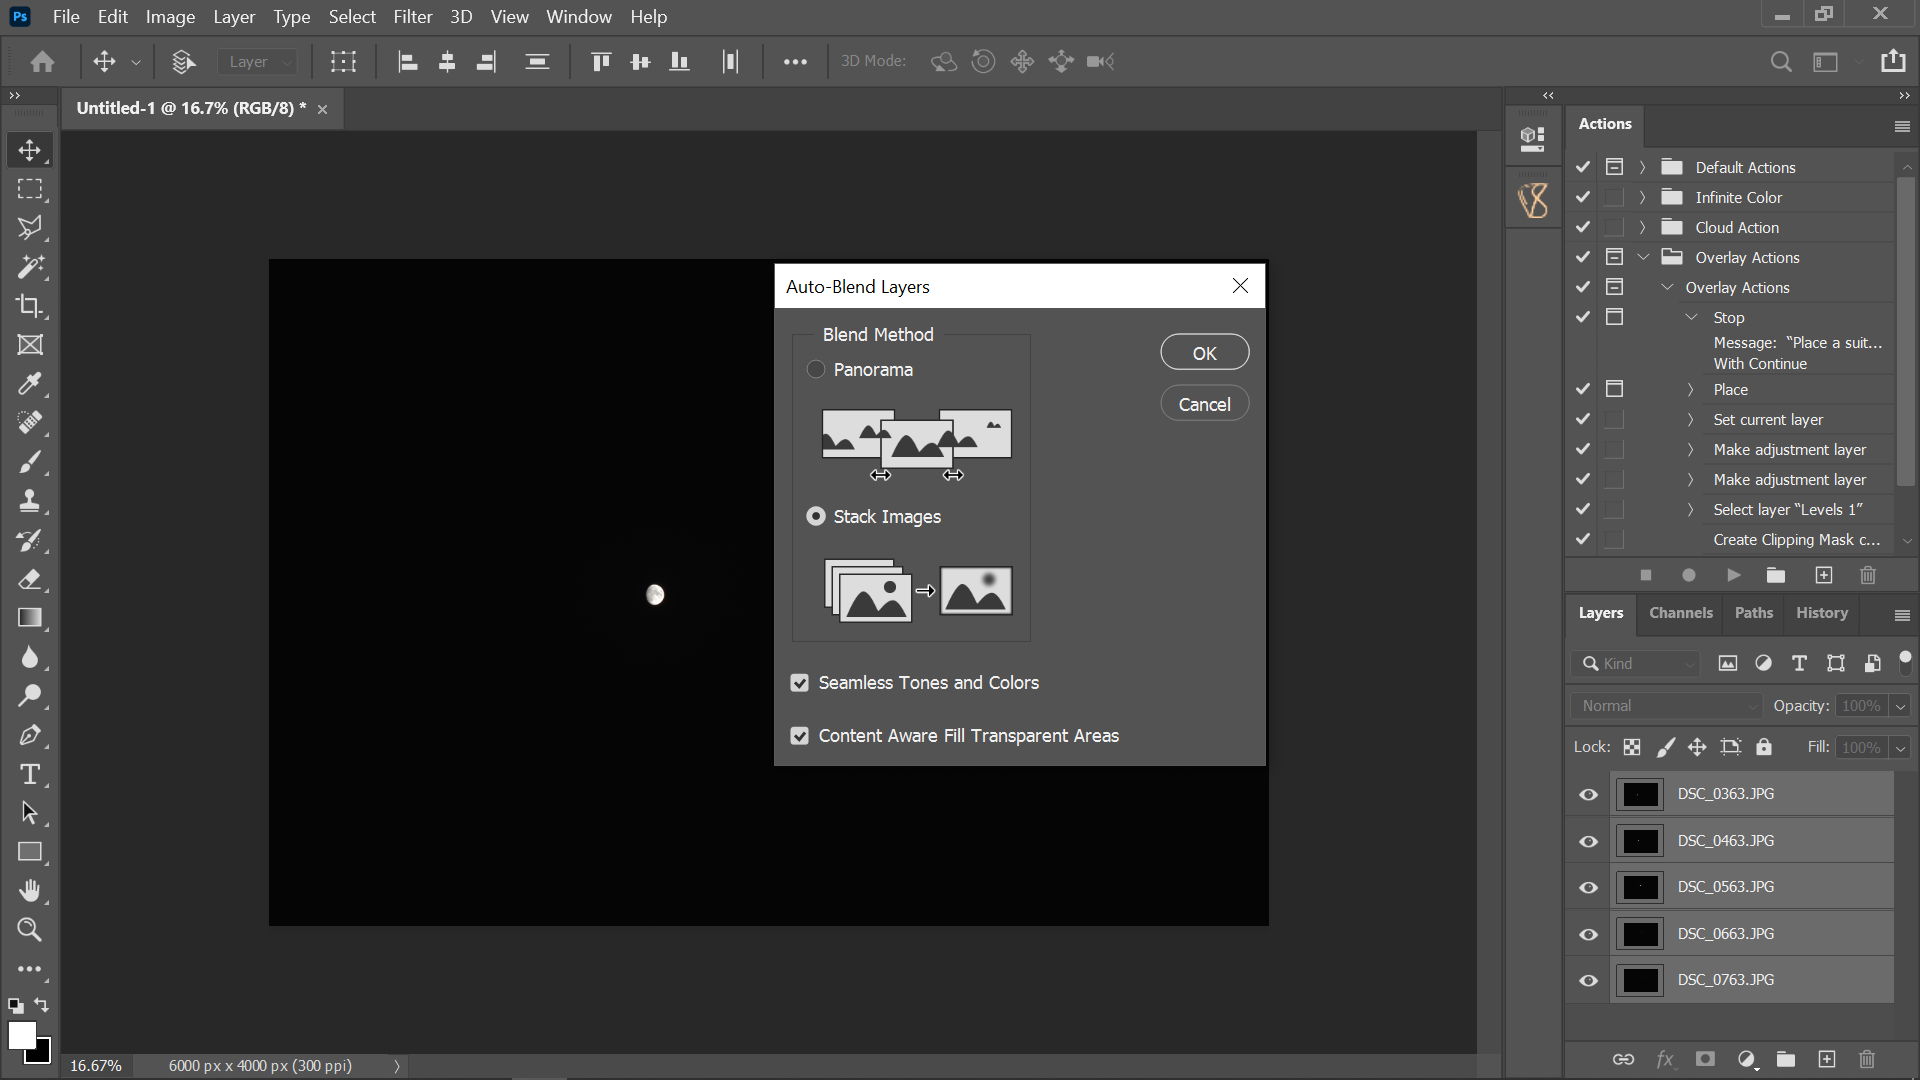
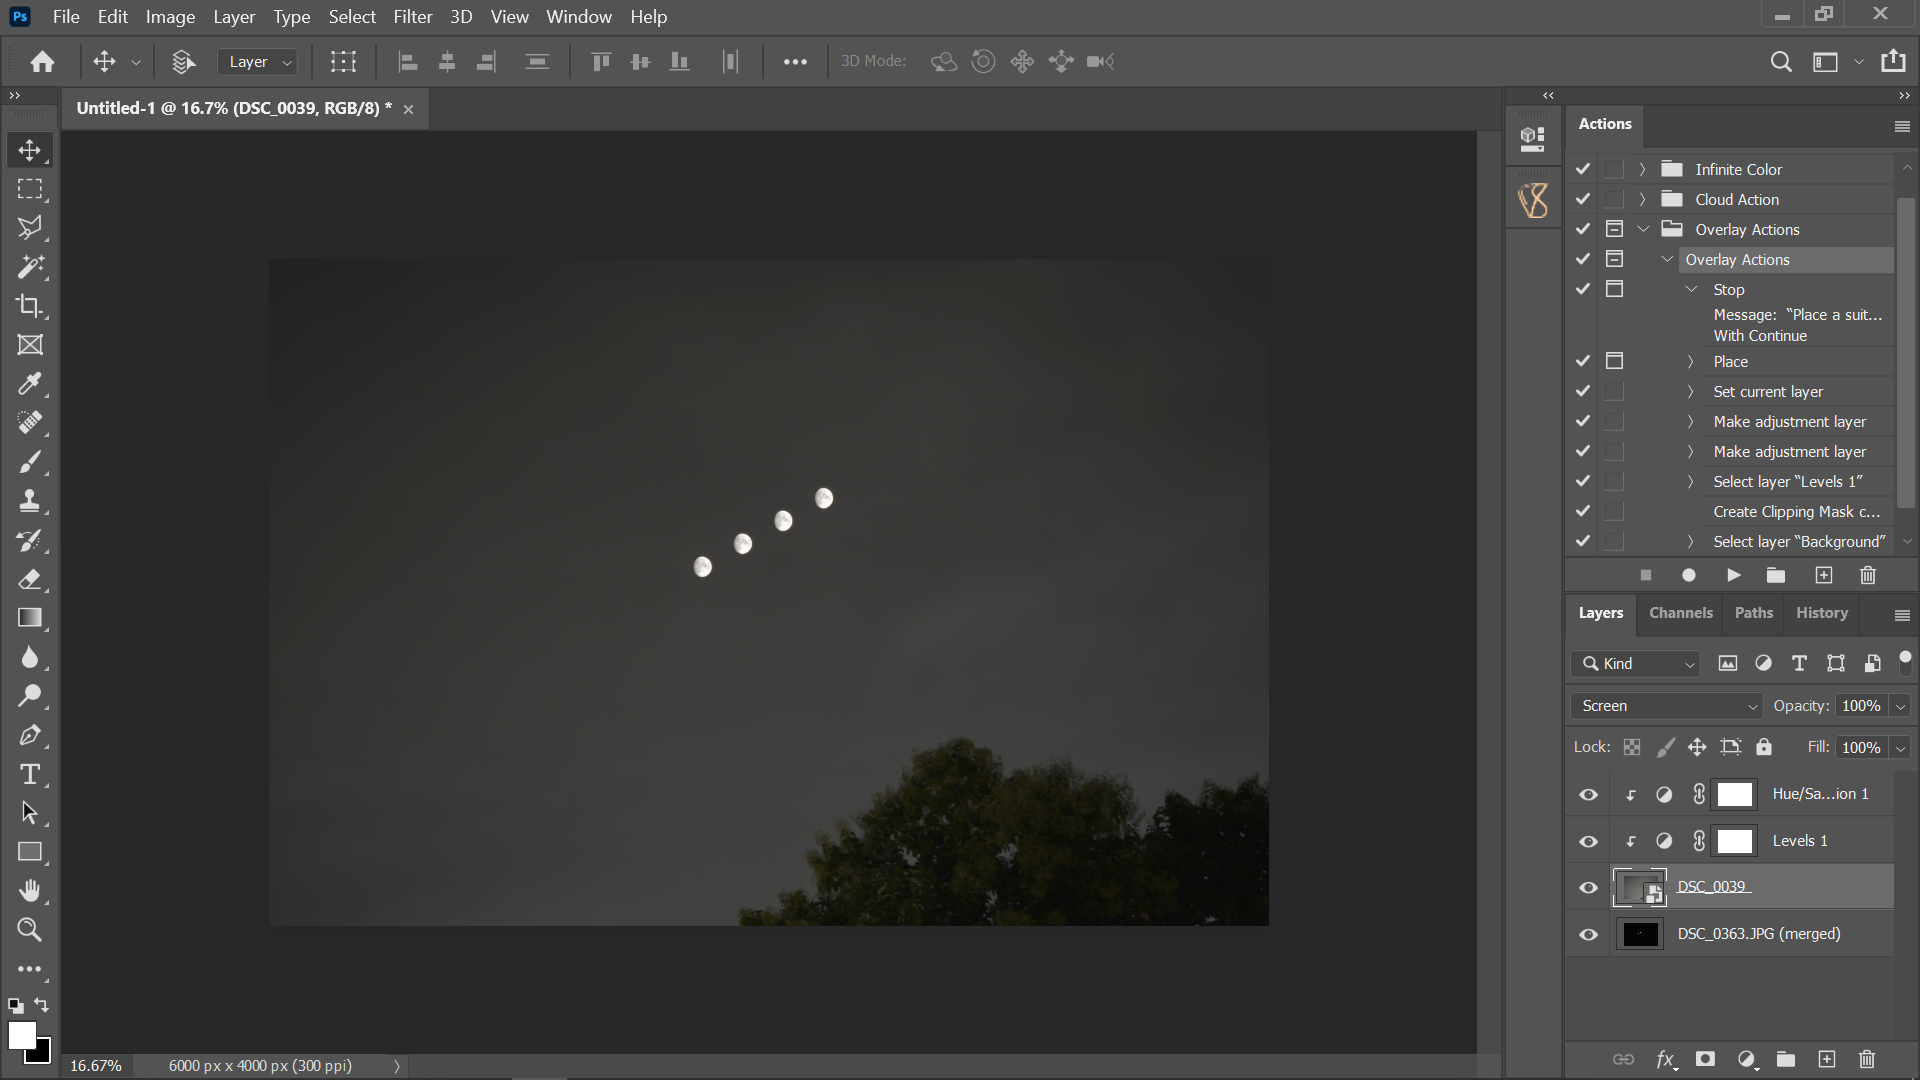
This is where the magic happens. Now that we have 3-5 final shots that we want to merge, let’s dive into the magical world of Photoshop (or any other software that supports layers).
Note: While working with the composite I relaized that the 5th shot wasn’t going well with the overall image, hence, I removed it
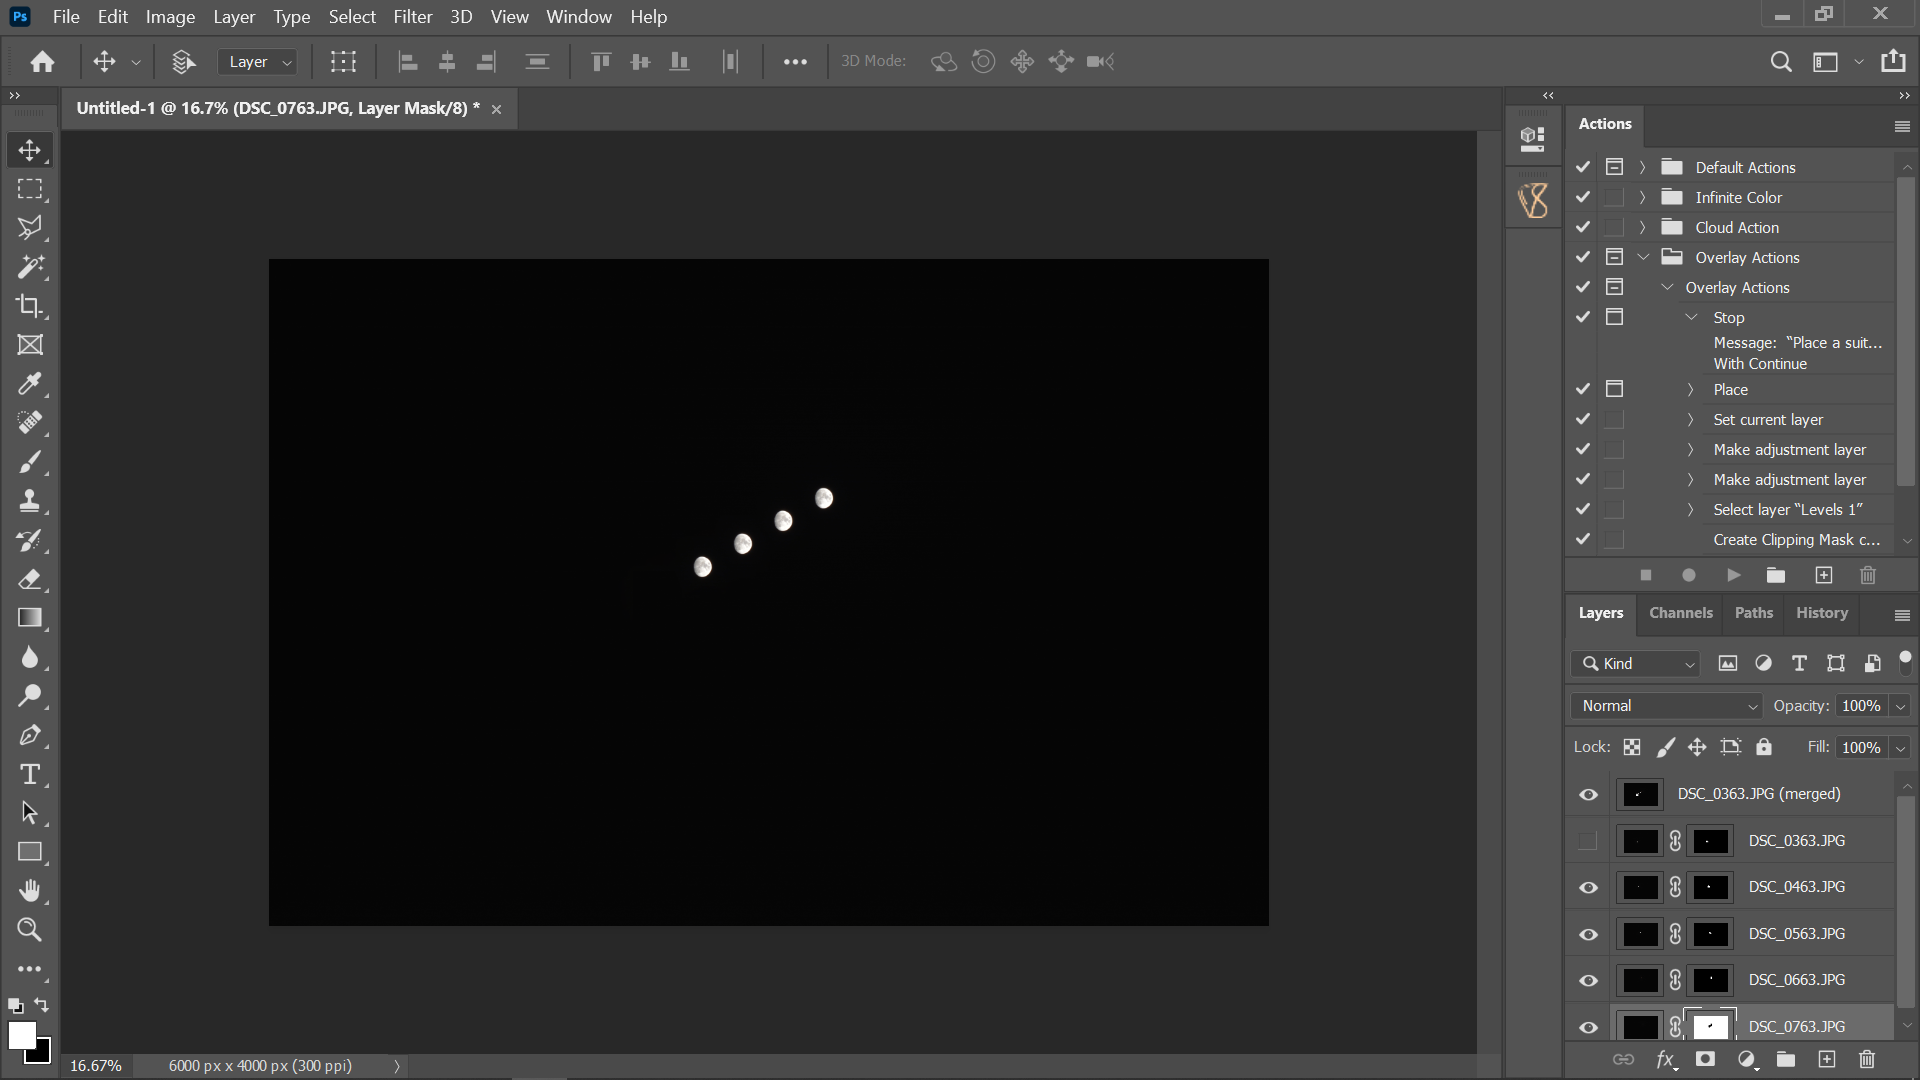
And it’s done, we have our final merged image. If we want to manually edit any layer, we can go to individual layers’ masks and adjust them (remember: white reveals, black conceals i.e. paint with a white brush to reveal an area or paint with a black brush to hide an area)
Pro Tip:
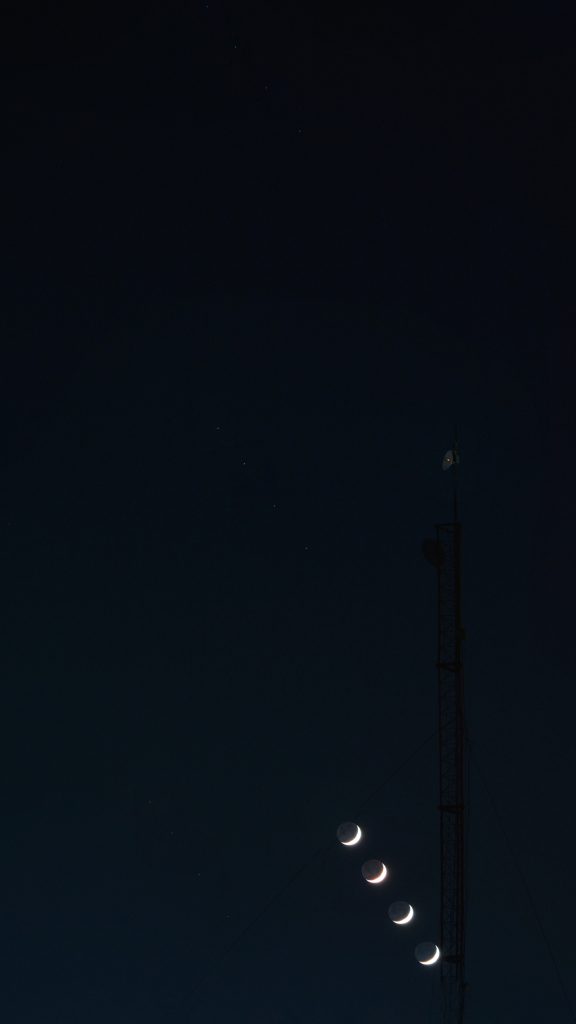
If we want to have the full moon and a lit foreground in the same shot, then apart from taking the shots of the moon we’ll have to take a shot in which we’ll expose the shot such that we get the foreground lit. This will overexpose the moon but don’t worry, that can be fixed in post. After merging the shot, import the foreground shot, zoom it such that the bright part of the moon is out of the frame and choose the blend mode as ‘Screen’
I hope this tutorial gave you some insights on how to make such photos. I have kept the data to the minimum so that you don’t get bombarded with information. This article can go on for 1000 more words if we dive deeper. I’d love to see what photos you guys make.
Do tag me in your stories if you try this technique and do share this with your friends. In case you are stuck at some point or need any assistance, feel free to DM me on Instagram
Till next time! Ciao!
f/13 1/20sec 55mm ISO-100 and f/7.1 17sec 18mm ISO-100
f/7.1 1sec 48mm ISO-1600
f/7.1 1sec 55mm ISO-400
f/7.1 2.5sec 48mm ISO-800
Liked it? Share it with your friends and family!
